
A guide to painting MDF furniture
Posted by Carl & Gerli Pass | Feb 1, 2022 | Blog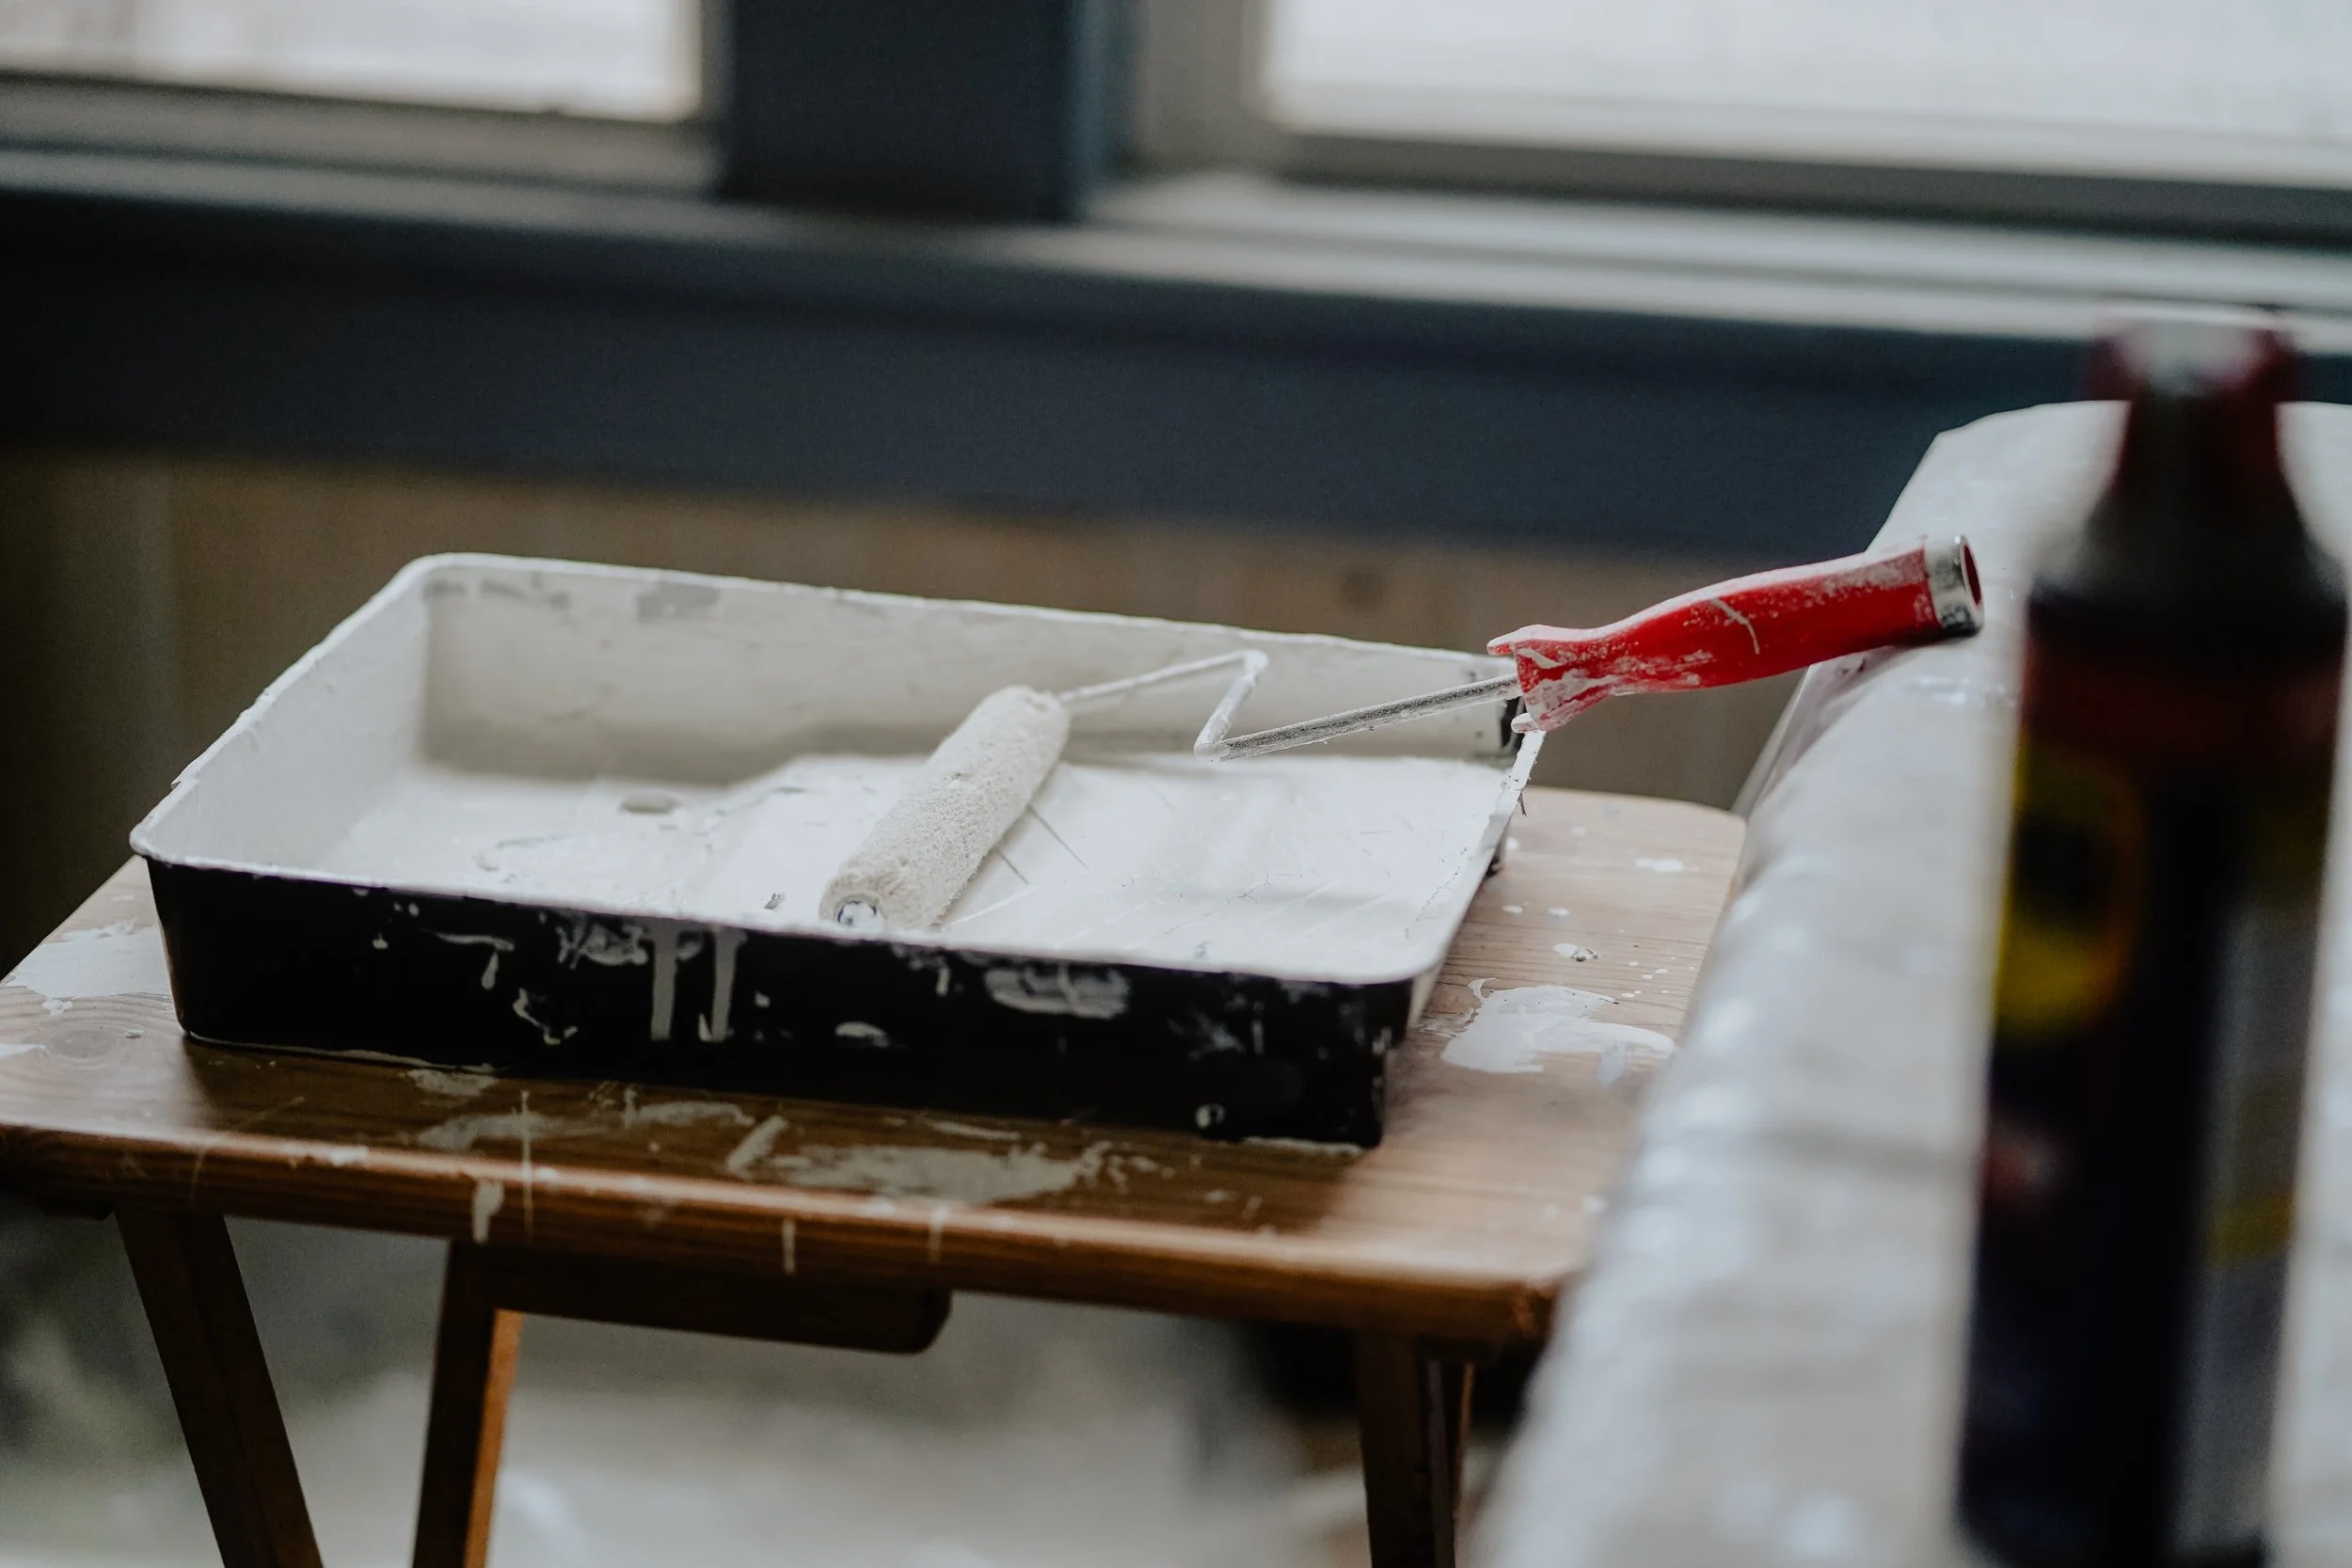
HOW TO GET A SMOOTH FINISH PAINTING MDF FURNITURE
Step by step for beginners.
Bespoke storage solutions are hugely popular among our clients, and many choose to paint them by themselves to save some cash. So, we have put together a practical guide to painting MDF furniture that applies to all kinds of structures from wardrobes to hallway and alcove storage solutions.
What you will need:
o A sash brush - the perfect brush for edges
o A roller paintbrush
o Water-based acrylic primer undercoat
o Water-based acrylic topcoat eggshell
o Protective sheets for painting
o Sanding block
What you need to do:
1. Take time to prepare
It is worth spending extra time preparing the area you wish to paint by covering floors and areas you wish to protect with protective sheets. There is nothing worse than discovering paint drips, splotches, and streaks in unwanted places after finishing your paint project. To avoid these errors, take your time planning in advance and getting the area prepared for painting.
2. Start by sanding
Even though we always make sure our finished MDF furniture gets good sanding it is always worth going through all the areas to rough it up a bit, so the primer has something to adhere to. Use 120-grit sandpaper but make sure not to gouge the surface. Once you have finished sanding, wipe down the surface or put the hoover using a soft brush. To make your life easier ask one of our carpenters to take extra care in preparing the surfaces for painting. After all, you have paid for a professional job!
3. Prime it
Before priming your storage solution, make sure you have picked the right primer. Any water-based acrylic primer will do the job and you can pick them up from hardware stores. Start with a sash brush to get into hard-to-reach areas and use the foam roller to cover the larger areas. You don`t have to be too tidy with your first coat of primer, just make sure you get all raw MDF covered evenly, especially where the rails and styles meet. Once it is fully dry, sand over the whole area to remove any drips with a 60-grit sanding block to get the surfaces even. Repeat the same process by applying 2-3 coats of primer and between each coat, sand away the surfaces with a 120-grit sanding block, and for the final coat of primer use a 220-grit sanding block to get a nice smooth finish. Sounds like too much sanding, but it`s worth it! In a nutshell, you need to sand over the surfaces after each coat of primer. Oh, and don`t forget to wipe or hoover up the dust after sanding.
4. Paint it!
Once you have finished the priming and the sanding it’s time to apply the topcoat. You can use any water-based acrylic topcoat either in satin, matt, gloss, or eggshell finish. Whichever finish you pick; the process is straightforward. Again, start with a sash brush to get into hard-to-reach areas by carefully applying thin coats of paint. Next, fill the surfaces with a foam roller working your way up in both directions, but finish off in one direction for a better finish. To avoid tiny trim lines appearing it helps to lift the roller off slightly and feather the roller around to smooth out the joins. Once the first topcoat is dry, quickly sand over the surfaces using a 220-grit sanding block to remove any drips or residue on the surfaces. Hoover up the dust using a soft brush and apply the second coat repeating the same process. You may need 3-4 topcoats to get the desired result. Always quickly sand the surfaces between each coat of paint and remove any specks of dust before applying another coat. Avoid applying too much paint on the brush and roller as it can get messy. Always wipe off extra paint to avoid lines.
With a little bit of patience and preparation, you can achieve great results using the traditional method of brush and roller. However, if you are having trouble getting the professional finish to your paint project call our friendly team for a free quote. Check us out on our Facebook or Instagram for ideas and tips.
Thank you for reading!
Tsau (an informal way to say “bye” or “hi” in Estonian)